
Quick Steps: Members > Distribution Lists > Add
1. Within the Management Console, select Members from the top menu, then Distribution Lists from the left menu.
2. Click Add at the top of the page. 3. Complete all relevant fields for the new Distribution List. All fields marked with a red asterisk are required fields and must be completed to add the new list to your database.- If Member Access is set to Yes, then members will be able to subscribe or unsubscribe from the list when they click the Unsubscribe button in any email sent from your organisation.
- Console Auto Add means that any members added through the Management Console will automatically be added to that Distribution List. Order will determine what order the lists display in on the Unsubscribe page when Member Access is set to Yes.
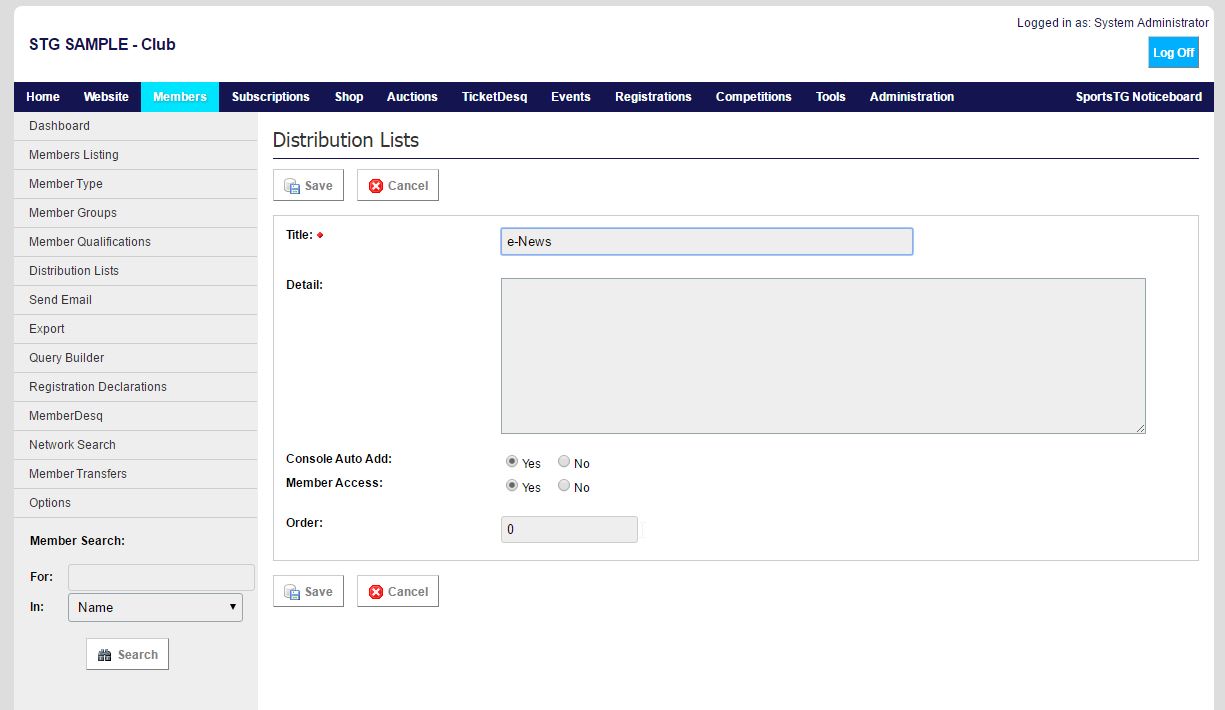
4. Once all fields are completed, click Save.
Note: Administrators can create as many Distribution Lists as they wish to easily email set groups of members. By setting up Distribution Lists, members have the opportunity to only opt out from particular lists without unsubscribing from all emails from your organisation.