
Quick Steps: Shop > Products > Products > Units Grid
The Units Grid allows you to set up the various colours and sizes for a product so that you only need to add the product once and customers are then able to select the applicable size or colour.
1. Within the Management Console, select Shop from the top menu, then Products from the left menu. 2. Select Products from the expanded left menu. 3. Click on the Units Grid icon next to the product you wish to setup the Units Grid for.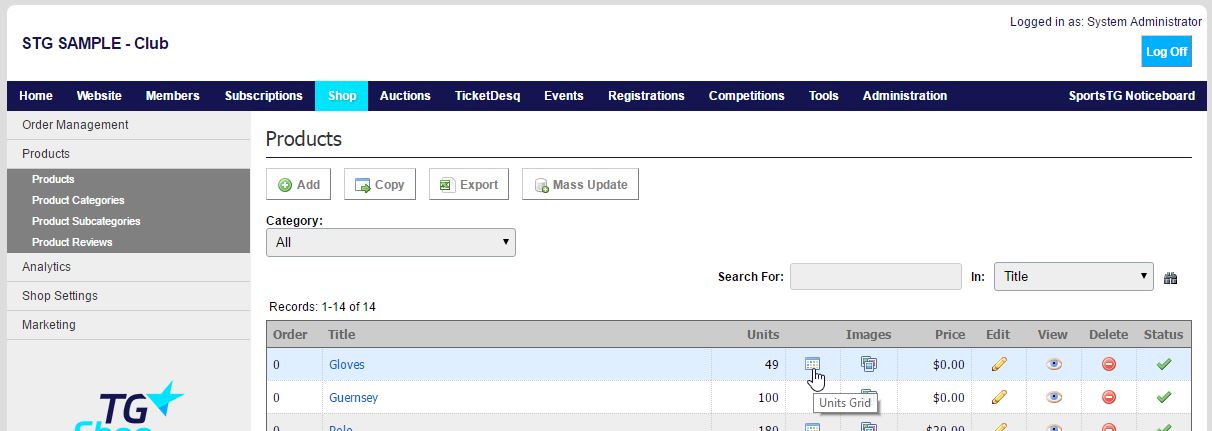 4. Click ADD and set up the first size or colour.
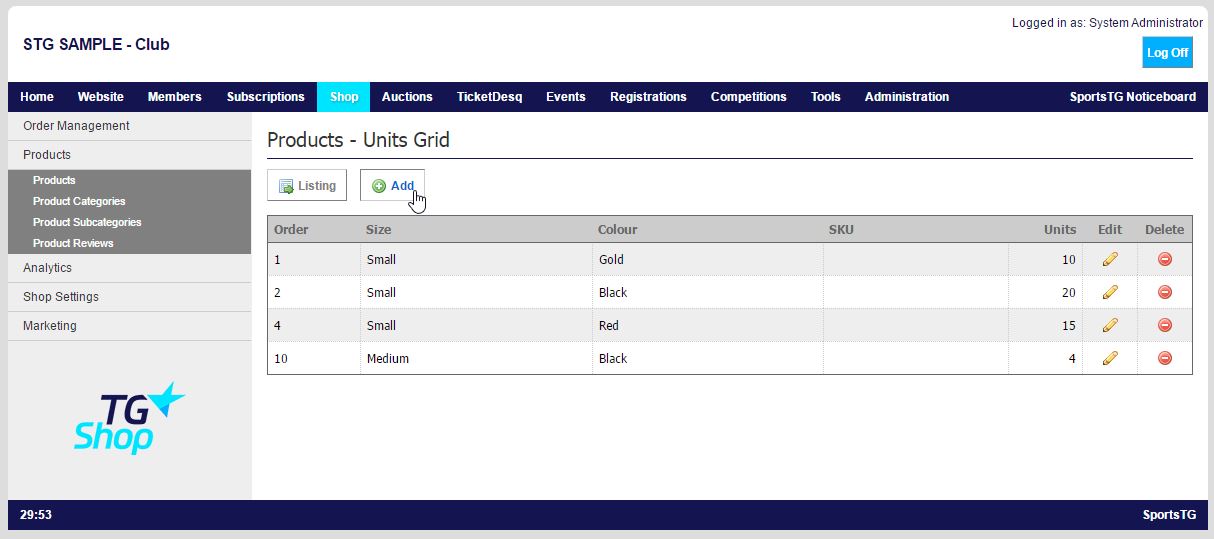
 Ensure you enter the amount of Units on Hand, as the option will not appear if the units count is zero.
If you only have one size but multiple colours, then leave the Size field blank. If you only have one colour but multiple sizes, leave the Colour field blank.
Ensure you enter the amount of Units on Hand, as the option will not appear if the units count is zero.
If you only have one size but multiple colours, then leave the Size field blank. If you only have one colour but multiple sizes, leave the Colour field blank.
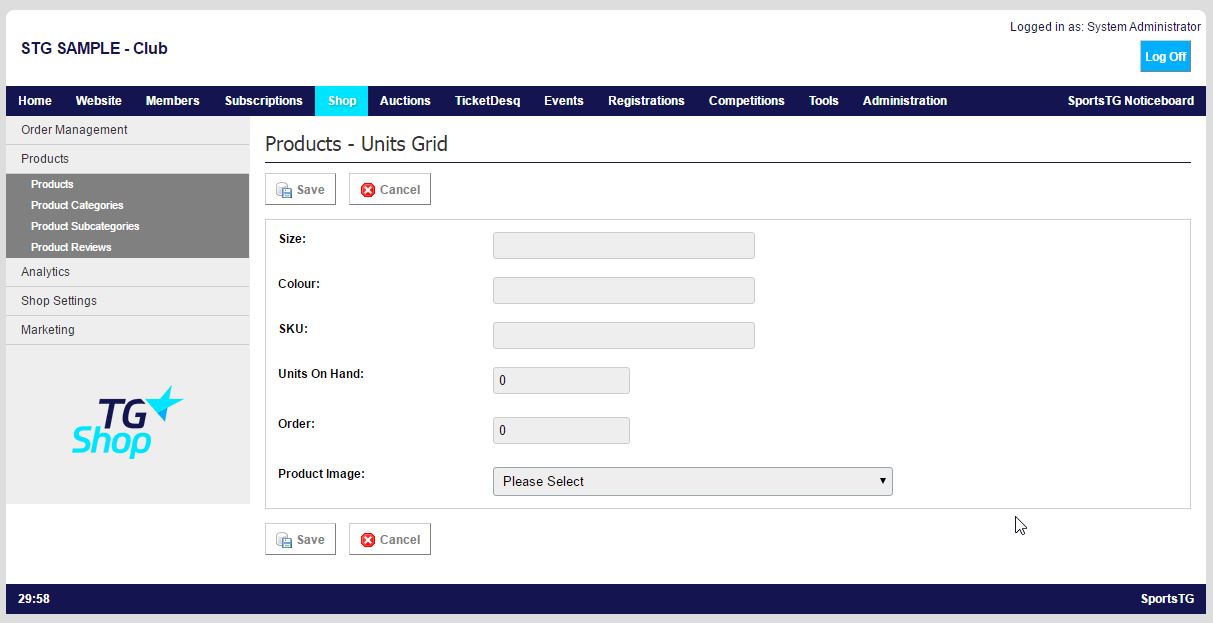 5. Give the option an Order, ensuring that the sizes run in order of size order, eg. Small should be set to 1, Medium to 2, etc.
6. To update the image displayed based on the colour or size selected, ensure the applicable product image is selected from the drop down.
7. Click Save.
8. Repeat until you have added all Sizes and/or Colours.
Note: Units Grid allows you to create one product and attach the different sizes and colours for that product. When setting up the Units Grid, make sure that if you only have one colour that you leave the Colour field blank, the same for if you only have one size.
5. Give the option an Order, ensuring that the sizes run in order of size order, eg. Small should be set to 1, Medium to 2, etc.
6. To update the image displayed based on the colour or size selected, ensure the applicable product image is selected from the drop down.
7. Click Save.
8. Repeat until you have added all Sizes and/or Colours.
Note: Units Grid allows you to create one product and attach the different sizes and colours for that product. When setting up the Units Grid, make sure that if you only have one colour that you leave the Colour field blank, the same for if you only have one size.